Let’s talk about the top 10 things you want to do first when you jump into V Rising for the first time. These fit in both PvE and PvP servers, so no matter what you choose, these will hold up.
#1 – Choosing the right place to setup your castle.
In V Rising, you need to create your castle as soon as you get out of the tutorial. And in this game, you can setup your estate really wherever you want. But just know, not all locations are created equal, there are some great advantageous things to look out for depending on what you want to do. For instance, players cannot swim, so any body of water is going to be a natural wall for you. Castles can be created on plateaus, which gives you multiple levels to build on – and it helps funnel enemies to certain entrances instead of giving them multiple walls to try to breach.
So let’s take a look at this screenshot I took from Beta. These are three castles that other players had set up, now one of them is in a fantastic spot. You have three entrances where players can come through, the first one at the top was walled off with a gate and because there is a body of water and a cliff, you couldn’t get around to the back of the fort. Then the other two entrances are both small paths through the rocky terrain. These were both blocked off with gates and again, it gave this player this entire area to build within with very little risk of attack from other players.
Then we have the other two castles. The one in the middle is okay, but it’s sort of in a big clearing, which meant it took a lot more resources to create a secured base than the other two. The one on the far right built into the side of the cliff and against that small pond. This gave them some fantastic natural defenses and kept me from getting too close.
So as you can see, picking where you want to set up your castle is incredibly important from a siege standpoint, but also from a utility standpoint. There are random portals scattered around the map that you can use to teleport, if you want to, you can also set up your castle near one of these to make traveling a little bit more convenient until you get your personal teleporter in your castle.
#2 – Mist Braziers and their huge impact early on!
When you first create your castle, it won’t have a roof. Instead it’s a little wooden fort that provides zero shade, meaning if you don’t build it near a shady area, you won’t be able to work in your fort while the sun is up….unless you set up mist braziers! These are low cost things you can build that will consume bones to create shade!
That way you can continue to work in your fort all around the clock. Now, these don’t take too much to maintain, you just put some bones in and turn it on. These will consume 1 bone per minute which is actually pretty good considering you can get a few hundred bones pretty quick. You can also toggle them off when the sun has set to save your bones.
But honestly, I didn’t have any issues just leaving them on and putting bones in whenever I went back to my castle. Once you start to build up your castle and add a roof, you won’t need them as often, but I still have one in my garden.
# 3 – Make sure to gather as much lumber, stone, animal hide, and bones as you possible can.
You will need tons of this over the next few hours of crafting. I made it a rule to spend a few nights in full harvest mode early on so that I had a big inventory of materials to craft all of my upgrades.
#4 Upgrade to Copper weapons.
You need to get these as soon as you can. Bone and reinforced weapons are okay to start out and they will help you tackle your first couple v blood enemies, but after that they drop off pretty quickly.
I would recommend pushing towards copper as hard as you can. The reason here is not only do they give increased stats, but they also give you your first weapon skill! These are fantastic for clearing out enemies and dealing with certain bosses.
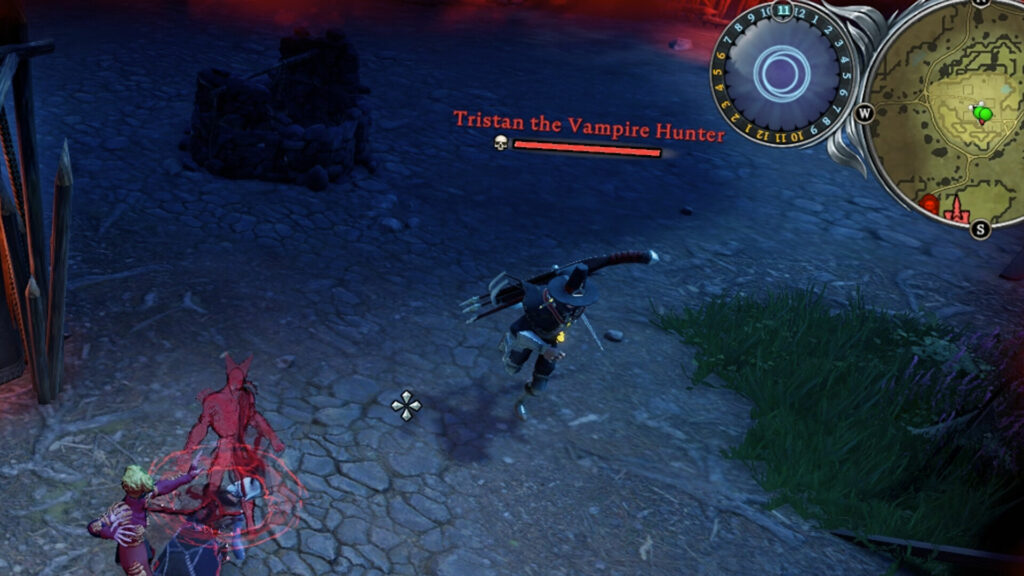
#5 – V Blood units
I would highly recommend killing the Alpha Wolf V Blood unit first. This guy will allow you to transform into a wolf and increase your movement speed by 45% Which is soooooo nice early on. I had opted to tackle the Frost Archer first because I wanted a crafting station, and I ended up regretting it. I was moving super slow for the first hour because I skipped the wolf unlock.
For our number 6 – At this time, go ahead and craft a Vampire Lockbox at this time. This is a special storage container that is locked against other players. This is especially good if you are on a PvP server and want to protect precious resources early on because all your other lockboxes can be looted. If you aren’t on a PvP server, this is just another large storage box to use to hold all your stuff.
Number 7! If killing the Alpha Wolf is number one, taking on the Frost and Chaos Archers is number 2 and 3 in my opinion. These will give you some very important unlocks for your castle. The chaos archer gives you the devourer, which is a salvaging station. Here, you can place weapons or materials you don’t need and have them crushed down into raw materials. This is good for breaking down fish into fish oil and bones, or any weapon drops that you don’t need.
The Frost Archer gives access to the Tannery, which allows you to turn animal hide into leather, which is key for lots of weapon and armor crafts. So getting this one is going to be super important when it comes to growing your character and being able to take on stronger challenges.
Number 8! This one is a little bit of personal preference, but take out Rufus after the archers. This will give you a crossbow recipe. Now, the crossbow isn’t as strong as some of the other weapons in my opinion, but it’s very useful for pulling enemies, or drawing enemies into the shadows to fight. By taking our Rufus, you get a 9 gearscore hunter’s crossbow that will work for a little bit while you clear Farbane Woods.
Number 9 – This one plays a little bit into number 3, but once you have a solid set of weapons and skills, raid the Bandit Copper Mine. This area is packed full of enemies, but you have soooo many copper veins to mine! This was a staple farming spot for me each night so that I could craft enough copper ingots to fuel my progression. Plus, you have some great chances at getting merciless recipe drops here too, which are better versions of your nightstalker set.
And lastly, number 10 – Create an enclosed workshop with matching floors as soon as you can in your castle. It takes a lot of resources, but when you have your crafting stations in a closed off castle room with a workshop floor installed, you get a 25% crafting speed buff and a 25% decrease in crafting cost! It means the world when you get to Iron ingots, which take three minutes to make each. So being able to shorten that time as much as possible is going to keep you moving along
So all, I hope that you enjoyed the video and that these 10 things help you get started! These were all things that I wrote down as I explored V Rising for the first time! But I want to hear from you all, after you’ve played, are there any things that you would change? Or do some of these not make sense?
Let’s get talking in the comments section below and as always.