00:00 Intro
0:49 Forbidden Passage
4:01 Amphitheater
7:49 Obelisk Key
9:13 Final boss
Onward you go to the Shattered Obelisk Expedition! Found in the Everfall territory, the Shattered Obelisk expedition is intended for level 35 players. Ideally, the playing group must have a healer and a tank to make things easier.
0:49 Forbidden Passage
At the first door, use your staff to open the Ancient Azoth Seal to access the other side. Once you get through, eliminate the enemies waiting for you. You will soon encounter the Shattered Obelisk lasers. Those are basically beams of light that will kill you instantly if you touch them. Crawl under the beams or dodge them; do whatever you can to avoid these deadly lasers.
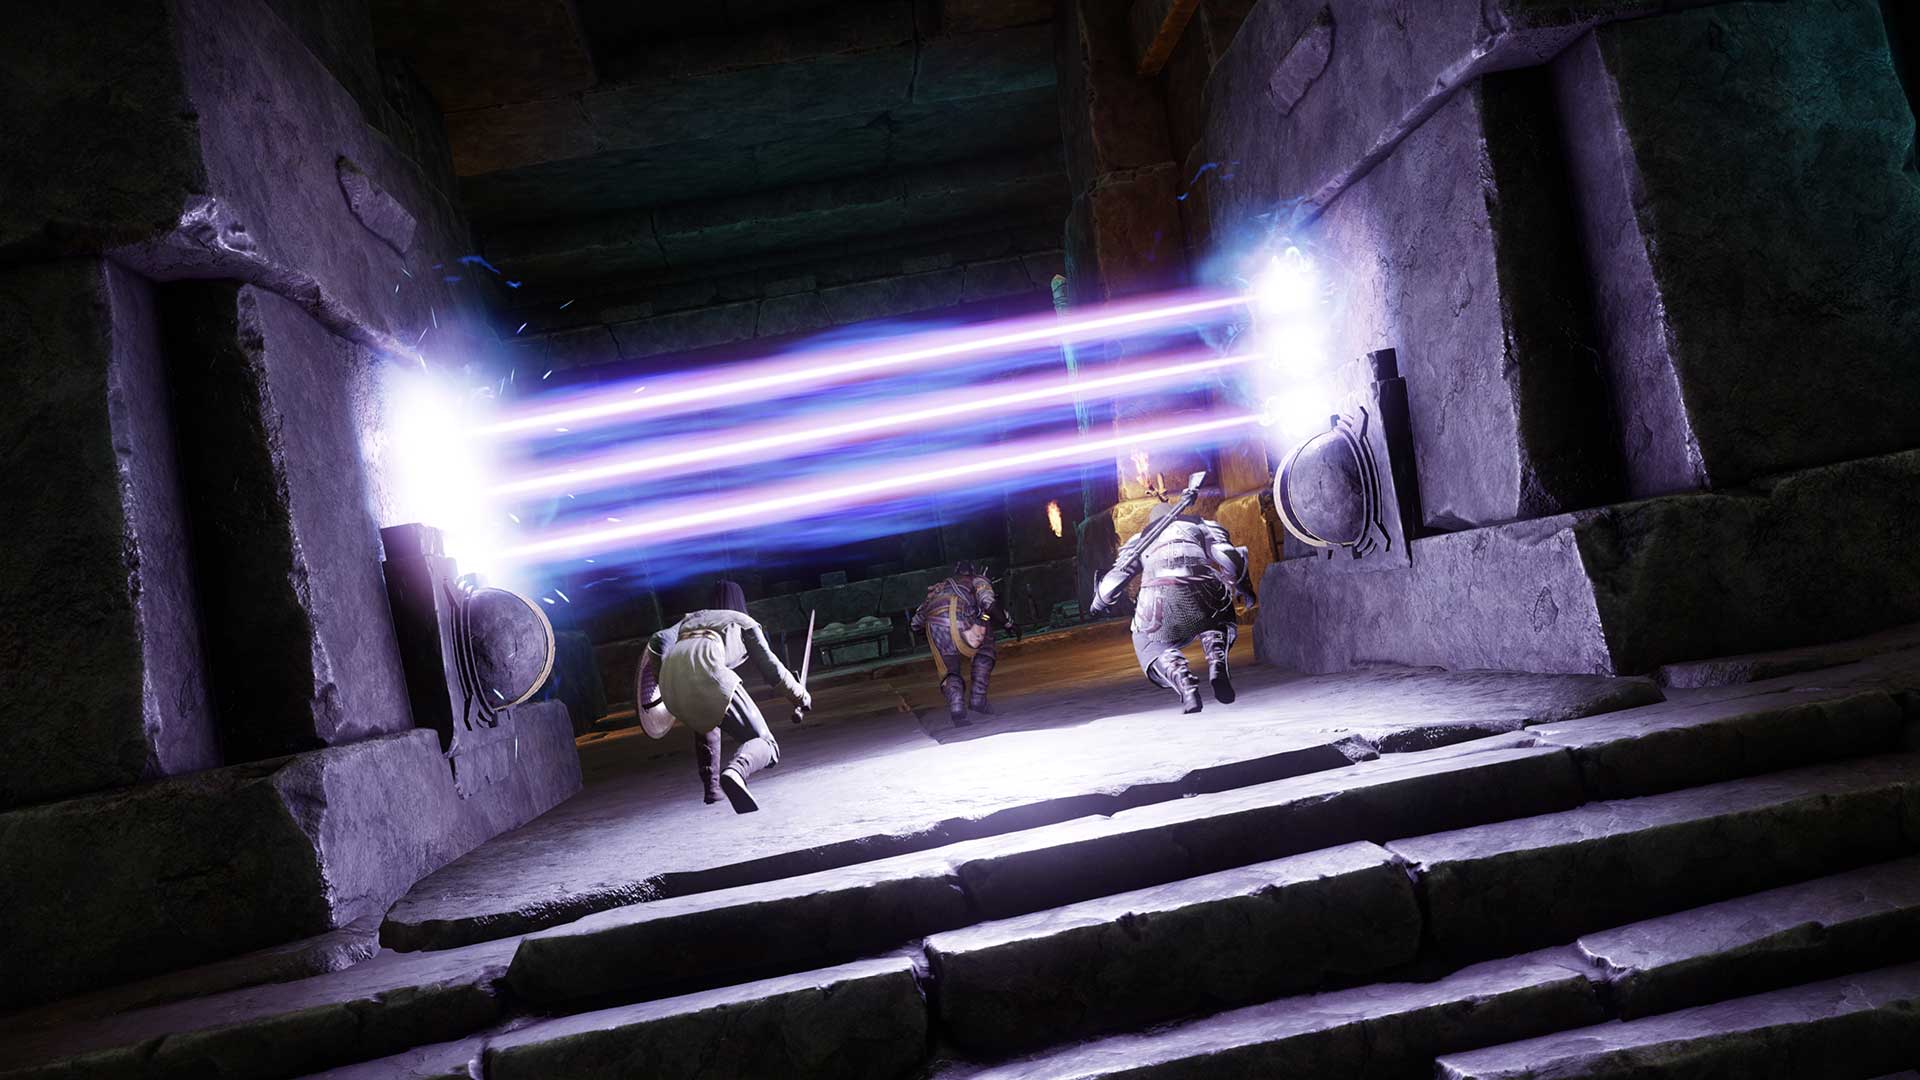
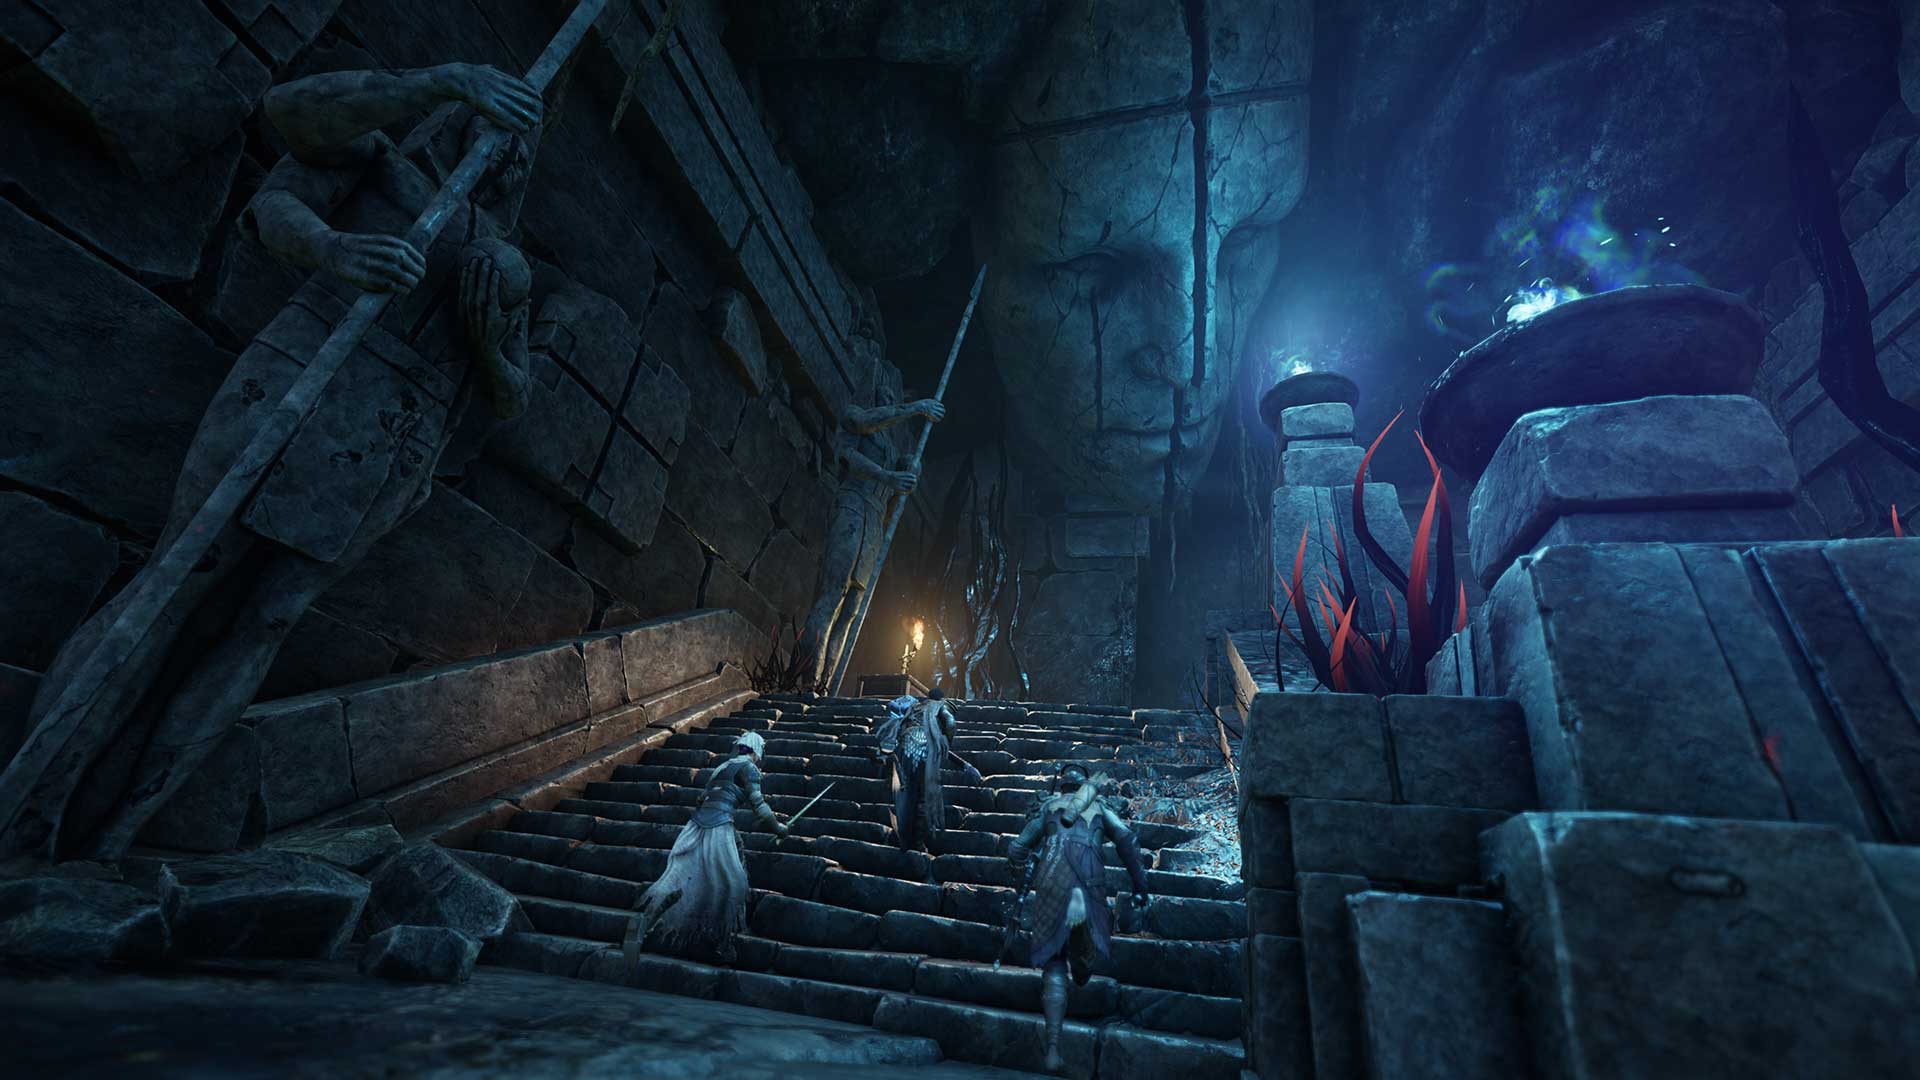
Down the corridor, you’ll enter the Forbidden Passage wherein you’ll find more lasers. It may be puzzling at first, but it’s not hard to get around the lasers. Once you are at the top, immediately turn left and jump straight down onto a ledge. Avoid moving lasers, jump down on a little ledge, climb up and watch out for a laser bar, and climb up again until you find yourself at the far side of the room. Make your way to the central temple which is found on the left side and pick up the Arcane Protection Charm. The Arcane Protection Charm will block the lasers. A player with the Arcane Protection Charm can stand between the beams and open up a gap for his teammates to go through.
4:01 Amphitheater
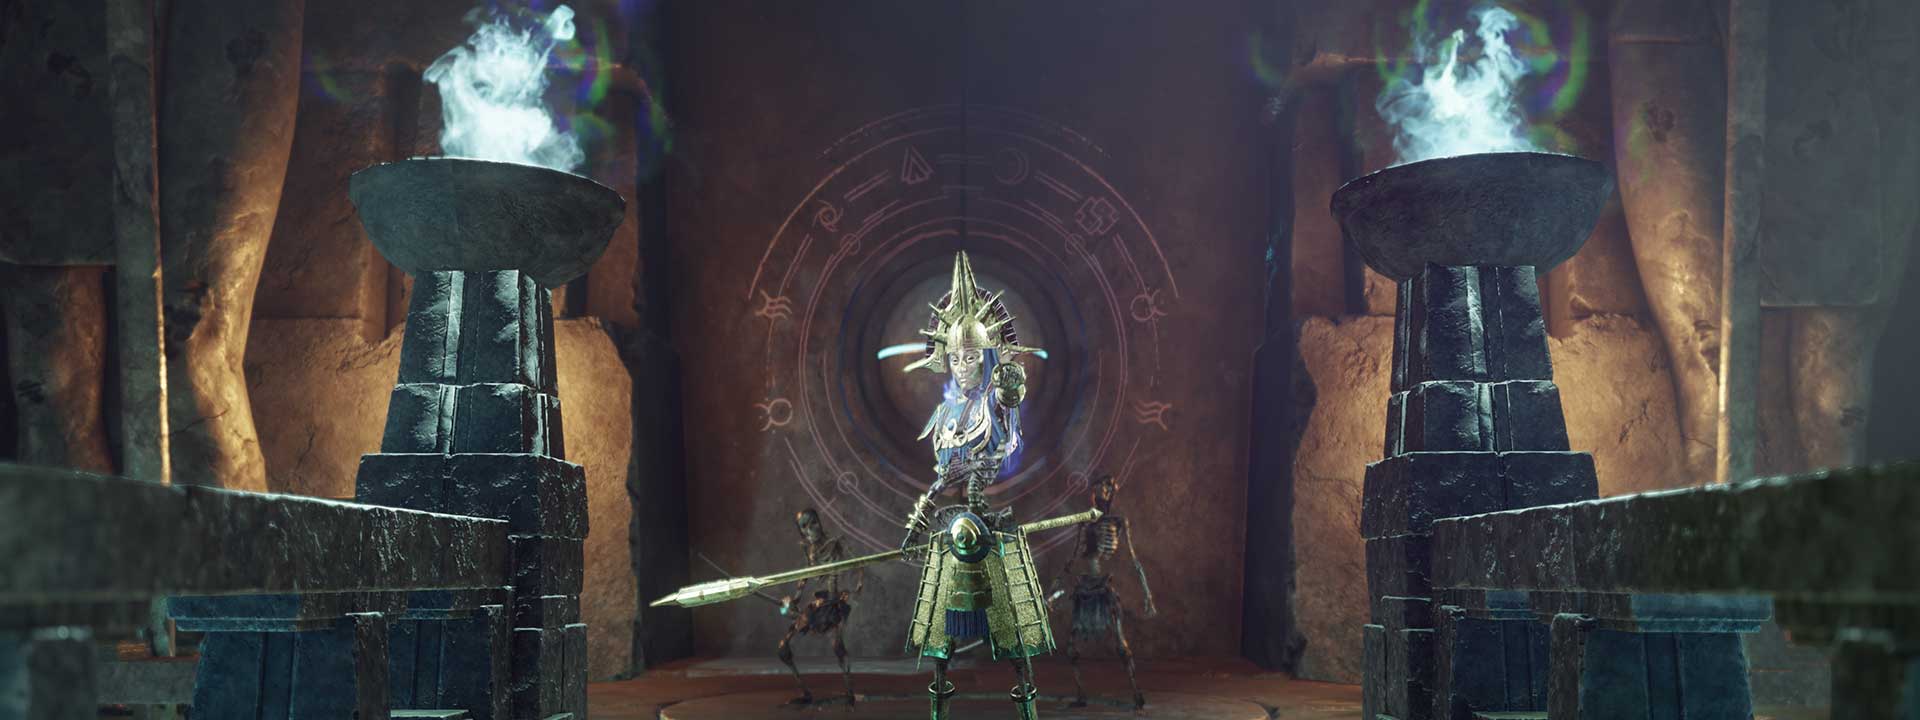
After passing through the “laser room”, and everyone on your team is through, your next landing place will be the Amphitheater. Same as before, open the Ancient Azoth Seal using your staff. Get rid of the ancients and monsters waiting for you. After dealing with them, get onto the third Azoth door as it will lead you to the final bosses’ Antechamber.
As you get a little bit further along, you will come across two mini-bosses: Erebas and Limos. Don’t underestimate the two as it will be a challenging duel and a dedicated tank will surely be helpful in fighting them. Defeat them and make sure one of your members picks up the Arcane Protection buff to help the team get through the beams.
7:49 Obelisk Key
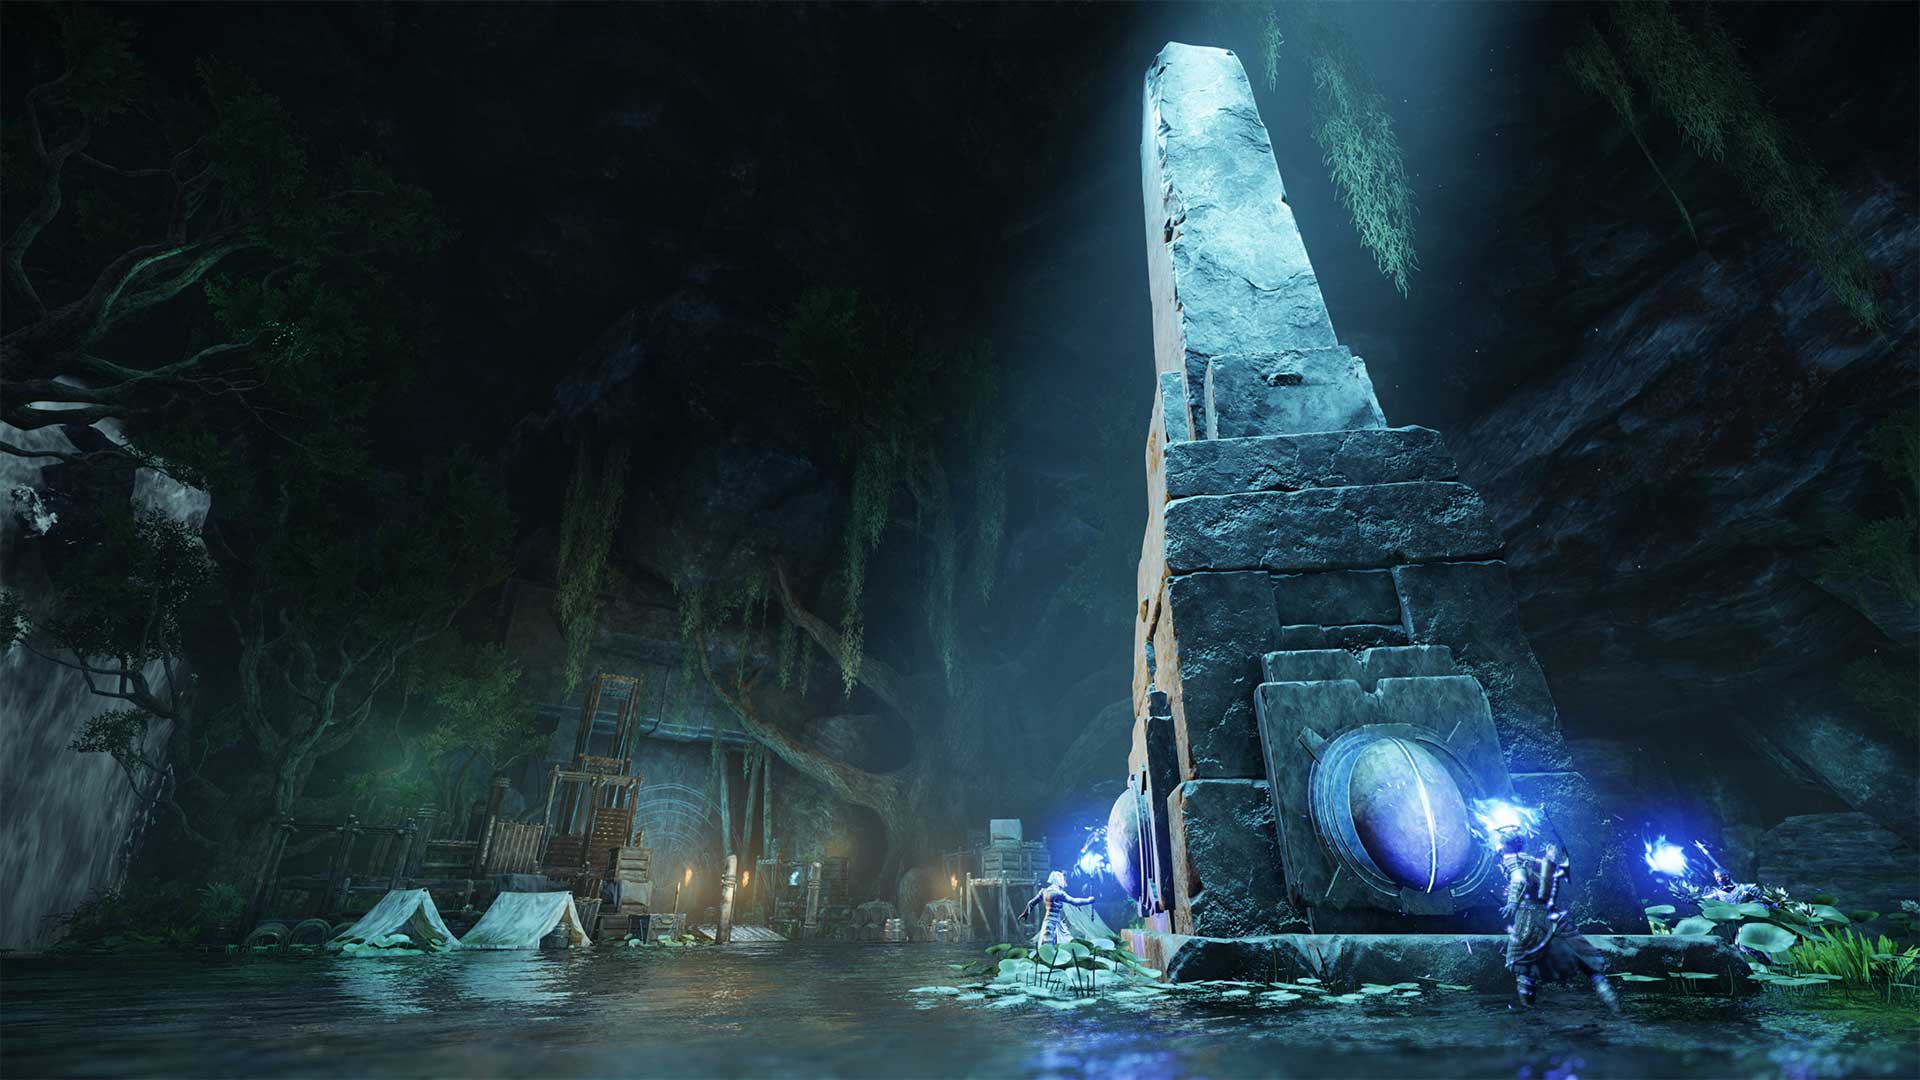
Once you get your team through the other side, get rid of the last few enemies. Go to the Ornate Chest found in the corner; inside you’ll find your Obelisk key. The Obelisk key needs to be put back in the tower, however, before you can put back the key, your team must power up the Shrine. To do that, go back to the bridge with your Protection shrine, get everyone through the laser beams, and activate the Disconnected Power Lock. Turn that on and with that on, the Obelisk is now activated. Once you get the key in, it will then give you access to the final boss.
9:13 Final boss
Go back to the Antechamber, kill the enemies so that they’re out of your way before you deal with the final boss. The final boss must be killed twice, thus expect a very challenging battle, especially in the second round when he returns in an upgraded form. The boss leaps and sends out damaging shockwaves, so be very careful and keep moving around. Make sure to stay within your healing circles and keep hitting the boss with your melee weapons. The boss spawns a significant number of monsters and you cannot avoid them. Try your best to defeat them and the boss and claim your well-deserved victory! Remember to collect the Expedition Chest, exit the portal, and you have officially finished the Shattered Obelisk Expedition.
Read Next:
(Part 1) Amazon’s New World: What Class Should You Play | New Player Guide
Credits
| Author | Lee Agustin |
| YouTuber | Evo Loz Gaming |
| Publisher | MGN |
| Game | New World |