In this video guide, we’ll show you how to import an existing Valheim world into a server of your very own. With all the amazing things being built, many of which are downloadable to the public, knowing how to upload a world/content to a server of yours is a must.
Import Your World Into A Valheim Server
To do this, you’ll want to have the server installed on the same computer you are actually playing the game on. To make this work, you will simply need to edit the start file.
Step #1 – Hold down start and press “R” so the run dialogue box appears.
Step #2 – Type: %userprofile%\appdata\LocalLow
Step #3 – Press Enter. This will load up a new file browser.

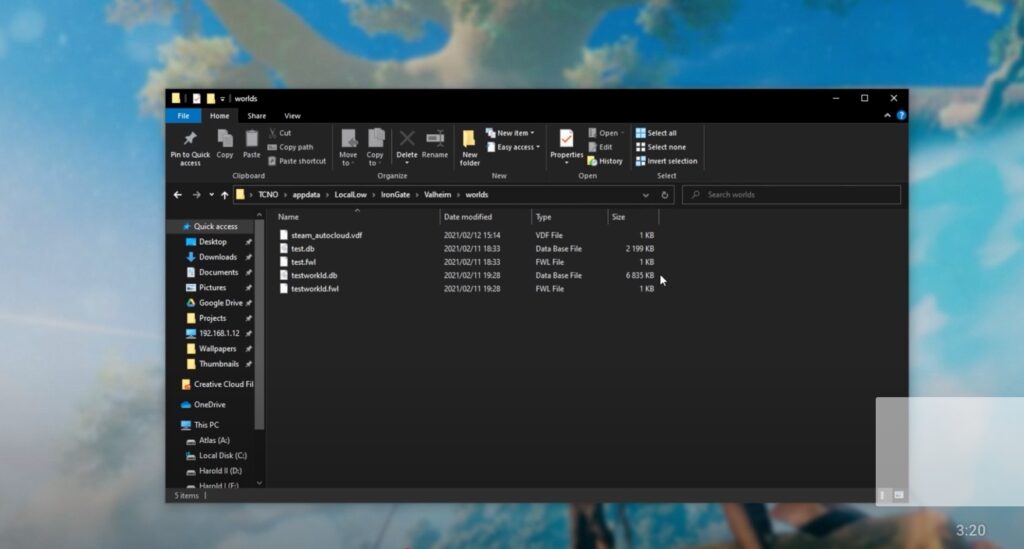
Step #4 – Open the Iron Gate Folder, then Valheim, then Worlds.
Note: All the worlds that you have in your offline game are stored in this folder. The character folder contains all your character data.
Step #5 – Copy the files in your worlds folder to the worlds folder on your server.
Step #6 – Run the script that you used to open up the server. It could be named something like “start.bat”.
Step #7 – Inside this file, you will see a “-world ____” argument. In this guide, we have a -world argument and it is the “-world” that we want to change. Make sure the name inside quotation marks matches the name of the file (world) you want to import. Do not include the .db in the name.


Step #8 – Once you’ve made these changes, make sure you save the file.
Step #9 – Start up the server. This will now load into a world that has progress in it. Connect to the server, and you should be able to log in and get cracking!
Credits
| Author | Curtis Pyke |
| YouTuber | TroubleChute |
| Program | Freedom! Scholarship |
| Publisher | MGN TV |
| Game | Valheim |