Destiny 2 is one of the most daunting games to pick up as a beginner. The game requires a large amount of will to play through the starting levels because of how slow leveling can be, not to mention the sections where if you mess up, you can halt your progress for significant stretches of time.
Level up the correct way in Destiny 2
This guide helps you level up consistently and correctly and, if you follow these tips, also quickly.
Strap on your gear and let’s go!
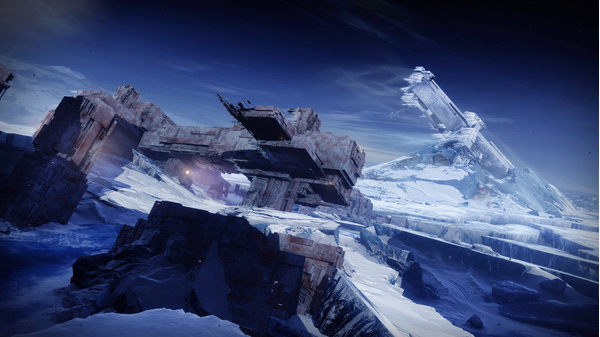
From Level 1 To 20
Leveling up in Destiny 2 from the starting point up till level 20 is a long and tedious endeavor, with a bunch of cutscenes and tutorials that constantly halt your progress, along with slowing you down even while you’re in-game; it takes a hefty amount of time to level up to 20.
Luckily, a lot of the time you can run through the missions without having to fight the enemies, with exceptions where you have to stop and complete the objectives, but most sections you can just sprint through.
Although this does bring its own set of problems, such as if you don’t defeat the enemies, you don’t get the added experience points that you would usually get, it does save a lot of time in comparison to doing the story straight up.

Many missions are locked because of a level cap, which means you’ll have to level up one way or the other. We advise doing Public Events, Adventures, Quests, and Lost Sectors for quick XP. Only make sure that you are not too low compared to the level required for the missions.
Once you finish the campaign’s first questline, you will be sent back to the Hub area where you can talk to Zavala and reach level 20.
After Level 20: Gearing Up
Once you are done with the whole campaign, you will be somewhere around Power Level 150. If you aren’t and have finished it, don’t worry, you’ll get there sooner rather than later by doing Strikes, Quests, and Public Events.
A lot of grinding is required after this point, and after a week of playtime, you should be at approximately level 250+. Getting to that point is, however, pure pain due to the aforementioned grinding.
Lost Sectors are a great way to earn Rare (Blue) gear, which is always a great option as you get them quickly and selling them is very profitable.
Completing Milestones is also a great way to gain powerful gear. If you don’t see your milestones in your inventory, that means you haven’t unlocked them yet. So complete all of them to unlock rare and legendary gear.
Legendary Purple Mods should only be slotted into purple gear; they can’t be removed once slotted in.
Once you’re done with your lower milestones, begin turning in your Reputation Tokens to planetary vendors. This will propel you up to Power Level 260+, at least.
Here are a couple of things that you should avoid doing before you reach Power Level 240:
- Do not turn in the planetary tokens that you get from completing the campaign to the planetary vendor.
- Don’t slot your legendary mods into blue weapons, as you will get the chance to slot them into legendary weapons later.
And here are a few more things you shouldn’t do before you turn Power Level 265:
- Do not complete the milestones that give you legendary gear.
- Do not begin the blue crown planetary quests that show up on Earth, Titan, Io and Nessus.
- Do not loot Cayde-6 treasure chests if you find any.
- Try not to do quests that take too long and offer little XP.
Pat Yourself On The Back: Power Level 265
Getting to Power Level 265 is a daunting task, but once you’re there, it’s smooth sailing. Go to Cayde-6 on the Tower, buy some maps and start hunting for chests. You are likely to get some great Purple gear and even some Yellow gear (Exotics) which are always fun to play.
After that, you can run around participating in Hero Public Events, gear up to maximum and hit up the crucible, or honestly do whatever you want. The hard part is done, it’s all run and gun with your buddies now! Get going, guardian!
Links
Get Destiny 2: Beyond Light on Steam
Do you like RPGs? Check out our Top 5 Reasons to play Dungeons of Edera guide!